Tape Grid for Jar Flowers: Keep Stems Where You Put Them
Make a three-by-three grid of thin clear tape across a jar opening so stems stay spaced. Covers drying the rim, anchoring the ends and hiding the tape.

Tutorial at a glance
Materials
- Clean, clear wide-mouth jar
- Thin clear tape
- Scissors
- Dry cloth
- Fresh flowers and greenery
A mason jar flower grid is a lattice of thin clear tape stretched across the mouth of the jar. Each stem goes through its own opening, so flowers stay where you put them instead of sliding to the rim and leaving a gap in the middle.
It is the simplest fix for a wide-mouth jar, a small bunch or top-heavy blooms. The grid takes about five minutes, uses nothing but tape, and disappears under foliage once the jar is full.
When a Grid Helps
Stems support each other when a jar is packed. With fewer stems, or a wide opening of about 3 in (76 mm), there is nothing to lean on. A grid supplies that support. Use one when:
- the jar is wide mouth, or a quart or larger
- you have fewer than a dozen stems and want them spread out
- the flowers have heavy heads on thin stems, such as tulips or gerberas
- you are making several matching jars and want the same shape each time
A regular-mouth pint with a full bunch usually holds itself without help. The basics of stem length and layering are in the beginner guide to mason jar flower arrangements.
What You Need
- A clean, clear, unpainted wide-mouth jar
- Thin clear tape, about 1/4 in (6 mm) wide; clear floral tape is made for this, and narrow clear office tape also works
- Scissors
- A dry cloth
- Prepared flowers and greenery
If your tape is the standard 3/4 in (19 mm) width, cut each strip in half lengthwise. Wide strips block the openings and are harder to hide.
Use a clear jar because water goes directly inside; standing water can lift an exterior paint finish at the rim and base. Check the rim for chips and cracks, and recycle a damaged jar instead of using it.
Dry the Rim First
Tape does not hold on wet or greasy glass, and this is the step most often skipped. Fill the jar about two-thirds full with cool water before you tape, since pouring through a finished grid is awkward. Then wipe the rim, the screw threads and about 1 in (2.5 cm) of glass below them with a dry cloth until they are completely dry.
On a reused jar, leftover label adhesive near the neck will also keep tape from gripping. Clean it off first with the methods in how to remove labels from jars, then wash, rinse and dry.
Make the Grid: Three Strips by Three
- Cut six strips. Each should be the width of the opening plus about 1 in (2.5 cm) of overhang on each side. For a wide-mouth jar that is roughly 5 in (13 cm).
- Lay the center strip. Stretch one strip straight across the middle of the opening. Pull it taut and press the ends down onto the outside of the threads.
- Add two parallel strips. Place one on each side of the first, about 3/4 in (2 cm) away, so the three run side by side like lanes.
- Turn the jar a quarter turn. Lay the remaining three strips across the first set at right angles, with the same spacing.
- Press the ends. Smooth every loose end down against the glass with a fingertip.
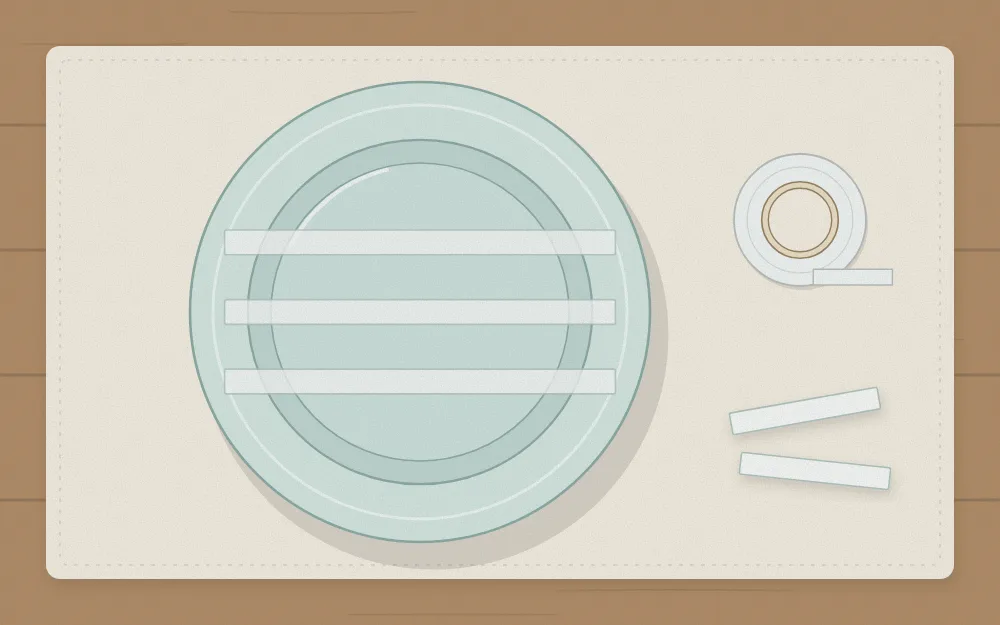
You should now have a lattice with four square openings in the middle and a ring of smaller, curved ones around the edge. For a regular-mouth jar, two strips by two is enough.
Anchor the Ends
The grid is only as strong as its ends. Wrap one longer strip of tape all the way around the outside of the jar, over the threads, so it covers every loose end. Overlap it by about 1/2 in (12 mm) where it meets itself and press firmly.
Tip
Test the grid before adding flowers: press lightly on the center with one finger. It should feel springy, like a drum skin. If a strip sags or lifts, peel it off, dry the glass again and replace it.
Place Stems Cell by Cell
Work from the outside in, turning the jar as you go.
- Greenery in the outer cells. Slide a stem of foliage into each edge opening, angled outward so the leaves hang over the rim.
- Focal flowers in the middle. Put the largest blooms in the four central squares, one per cell, standing more upright. Cut one slightly taller than the others.
- Filler in the gaps. Add small flowers to cells that already hold a stem. Two or three thin stems share an opening comfortably.
Lower each stem straight down until it touches the bottom of the jar. A stem that hangs from the tape instead of resting on the base will pull the grid loose over time.
Hide the Tape
Clear tape is hard to see from a short distance, but the anchoring strip around the rim can catch the eye. There are two easy covers.
- Foliage. Let the outer ring of leaves drape low over the edge all the way around. This hides both the grid and the rim.
- The screw band. Remove the flat lid insert and screw the band on over the taped rim. It covers the anchoring strip and gives the jar a finished collar. If the band will not thread over the tape, do not force it; use foliage instead.

The Ready-Made Option: a Flower Frog Lid
A flower frog lid is a metal or plastic insert with a pattern of holes or a wire grid that takes the place of the flat lid insert and sits under the screw band. It does the same job as tape and can be reused.
The trade-off is flexibility. The holes are a fixed size, so thick stems may not fit, and each lid suits only one mouth size. Tape adapts to any jar and any bunch. Many people keep a frog lid for everyday jars and use tape for odd sizes or a long row of table jars.
Care and Reuse
Top up the water by pouring slowly through a central cell, and keep the outside of the rim dry so the tape stays put. A grid normally lasts the life of one arrangement. When the flowers are finished, peel the tape off, wash the jar in warm soapy water and start with fresh strips next time.
Because every taped jar produces the same spacing, grids are especially useful for sets. The guide to mason jar centerpiece ideas shows how to group matching jars along a table.
Frequently asked questions
What kind of tape works for a flower grid?
Thin clear tape about a quarter inch wide is easiest to hide. Clear floral tape is sold for this purpose, and ordinary clear office tape cut in half lengthwise does the same job. Whatever you use, it only grips glass that is completely dry and free of grease.
Why does the tape grid keep coming loose?
The usual causes are a damp rim, adhesive residue on the glass or stems hanging their weight on the tape. Dry the rim and threads thoroughly, wrap one strip around the outside to hold all the ends, and lower each stem until it rests on the bottom of the jar.
Do you need a grid for a regular-mouth jar?
Often not. A regular-mouth opening is narrow enough that a full bunch supports itself. A small grid of two strips by two is still useful when you have only a few stems, or when heavy flower heads keep swinging to one side.

