How to Clean Jars and Remove Labels Before Crafting
A calm, step-by-step way to prepare jars for craft projects: soak and peel the label, lift sticky residue with a simple paste or rubbing alcohol, then wash, dry and wipe the glass so paint and glue hold.
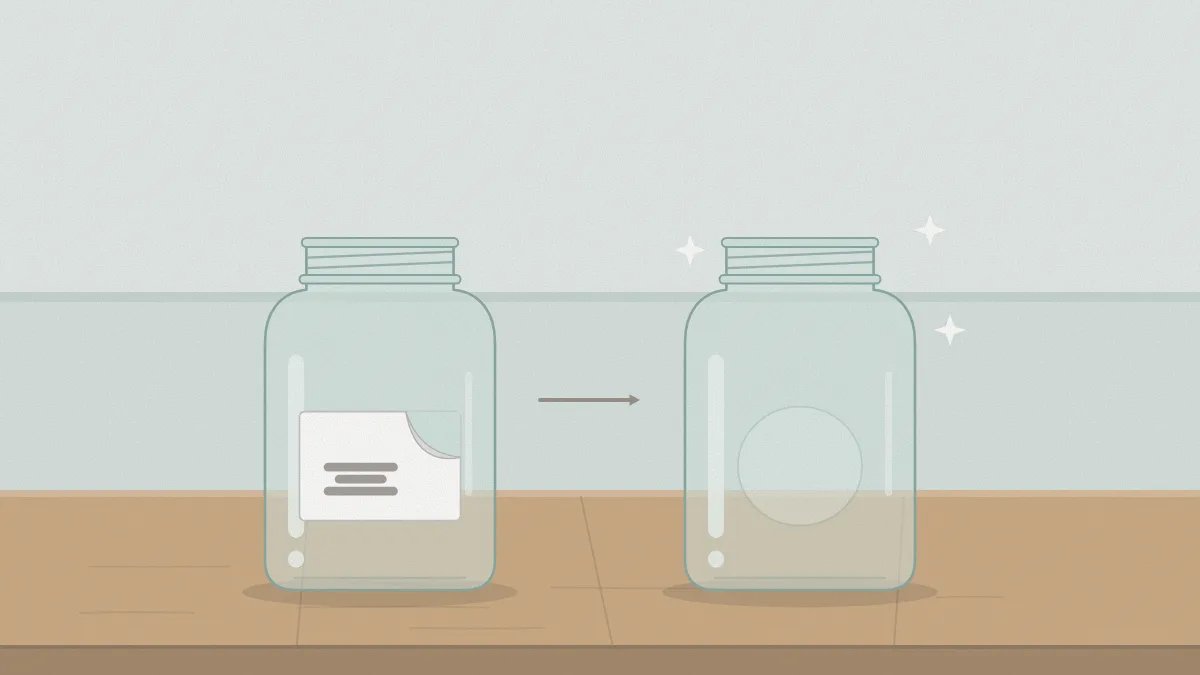
Tutorial at a glance
Materials
- Glass jars with labels
- Warm tap water and dish soap
- Plastic scraper
- Cooking oil
- Baking soda
- Rubbing alcohol
- Lint-free cloths
Paint, glue and decoupage medium only grip glass that is properly clean, so the first job in almost any jar project is to remove labels from glass jars and clear away the sticky film they leave behind. It is slow only because of the soaking; the hands-on part takes a few minutes per jar.
The method below uses warm soapy tap water, a simple household paste and a final wipe with rubbing alcohol. It is preparation for decorative craft use, and it works on new jars with a price sticker as well as on jars saved from the recycling bin.
Inspect each jar first
There is no point cleaning a jar you cannot use. Hold each one up to the light and run a fingertip carefully around the rim and the base. Look for chips, cracks and fine lines in the glass. Recycle any damaged jar instead of crafting with it, because a crack can spread when the jar is handled or bumped.
Unscrew the band and lift out the flat lid insert. Set both aside to clean separately, since metal parts left soaking can rust.
What you need
- A basin or sink deep enough to lay the jars on their sides
- Warm tap water and a little dish soap
- A plastic scraper or an old plastic card
- Cooking oil and baking soda
- Rubbing alcohol and two or three lint-free cloths
- A clean towel or drying rack
Choose plastic over metal for scraping. A metal blade can scratch the glass and is an easy way to cut a finger on a wet, slippery jar.
Soak and peel the label
- Fill the basin with warm tap water, comfortable to keep your hands in, and add a squirt of dish soap.
- Lay the jars in so the labels are fully under water. Let a room-temperature jar fill slowly so it settles instead of floating.
- Leave them for about 20 to 30 minutes. Thick or glossy labels may need roughly an hour.
- Lift one corner with a fingernail or the plastic scraper and peel slowly, keeping the label low against the glass. A soaked paper label often slides off in one piece.
- If the paper tears and leaves a fuzzy layer, put the jar back for another 15 minutes or so, then rub the layer away with your thumb or a cloth.

Watch out
Use warm tap water only. Don’t pour boiling water over a jar, and avoid sudden temperature changes, such as moving a cold jar from a garage straight into warm water. Glass can crack when its temperature shifts quickly.
Rub off the sticky residue
Peeling usually leaves a tacky patch of adhesive. Soap and water alone tend to smear it around, so use one of these two approaches.
Oil and baking soda paste
Mix roughly equal parts cooking oil and baking soda in a small dish until you have a thick paste. Spread it over the residue, leave it for about 10 to 15 minutes, then rub in small circles with a cloth. The oil loosens the adhesive and the baking soda gives a mild scrub that will not scratch glass. Wipe away the paste and repeat on any patches that still feel tacky.

Rubbing alcohol
For a thin film or a small sticker mark, dampen a cloth with rubbing alcohol and rub firmly until the tackiness is gone. Work in a ventilated room, keep the bottle away from any flame or heat source, and follow the directions on its label.
Some plastic-film labels use a tougher adhesive. Peel the film dry first, then alternate the paste and the alcohol, giving each a few minutes to work. Patience does more than pressure here.
Wash, rinse and dry fully
The paste leaves an oily film, and paint will not hold on oil. Wash each jar again by hand in warm soapy water, inside and out, paying attention to the threads at the neck, where residue collects. Rinse until the glass squeaks under your fingers.
Stand the jars upside down on a towel or rack and let them air dry. Give them several hours, or overnight if the room is humid. Moisture hides in the threads and under the rim, and trapped damp is a common reason paint lifts later. Wipe the bands and lid inserts with a soapy cloth, rinse them and dry them by hand right away.
The final wipe before paint or glue
Even a clean jar picks up skin oils as soon as you handle it. Just before you decorate, wipe the outside once with rubbing alcohol on a lint-free cloth and let it evaporate, which takes a minute or so. From that point, hold the jar by the rim or with a hand inside it.
This step matters most for anything that needs to grip bare glass. If you are heading on to painting mason jars, a wiped surface helps the first coat go on evenly. The same is true for decoupage on jars, where the medium has to hold thin paper flat against the glass.
Tip
Clean a batch at once. Six jars soak as easily as one, and having prepared jars on the shelf makes it much easier to start a project on a spare evening.
When a mark will not come off
Printed date codes and some inks sit on the glass itself. Rubbing alcohol on a cloth shifts many of them; a few will not move. Embossed lettering and molded patterns are part of the jar and stay.
None of this needs to stop you. Opaque paint, a twine wrap or a fabric band will cover a faint mark completely, and raised lettering often becomes a feature once it is painted. If you want a first project for your newly cleaned jars, the collection of easy mason jar crafts for beginners is a good place to pick one.
Frequently asked questions
How long should jars soak to loosen a label?
Roughly 20 to 30 minutes in warm soapy tap water is enough for most paper labels. Thick, glossy or coated labels can need about an hour. If the label tears when you start peeling, that is a sign to put the jar back in for a little longer.
What removes sticky label glue from glass?
A paste of cooking oil and baking soda, left on for several minutes and then rubbed with a cloth, lifts most adhesive. Rubbing alcohol on a cloth handles thin films and small sticker marks. Wash the jar by hand afterward so no oily layer is left under your paint or glue.
Do new jars need cleaning before painting?
Yes. New jars often carry dust, a price sticker and a light film from packaging and handling. Wash them in warm soapy water, let them air dry completely, and wipe the outside with rubbing alcohol just before you paint or glue so the surface is free of skin oils.