Decoupage on Mason Jars: Napkins, Tissue and Paper
Learn to apply napkins, tissue and thin paper to the outside of a jar with decoupage medium, from the pale base coat and separating plies to smoothing, top coats and keeping wrinkles small.
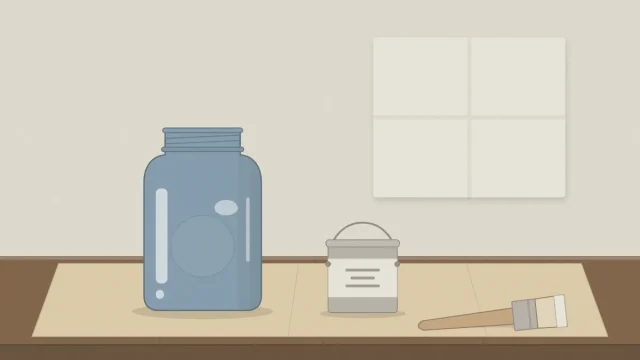
Tutorial at a glance
Materials
- Clean pint jar
- Light acrylic craft paint
- Printed paper napkins or tissue
- Decoupage medium
- Soft flat brush
- Plastic wrap
- Scissors
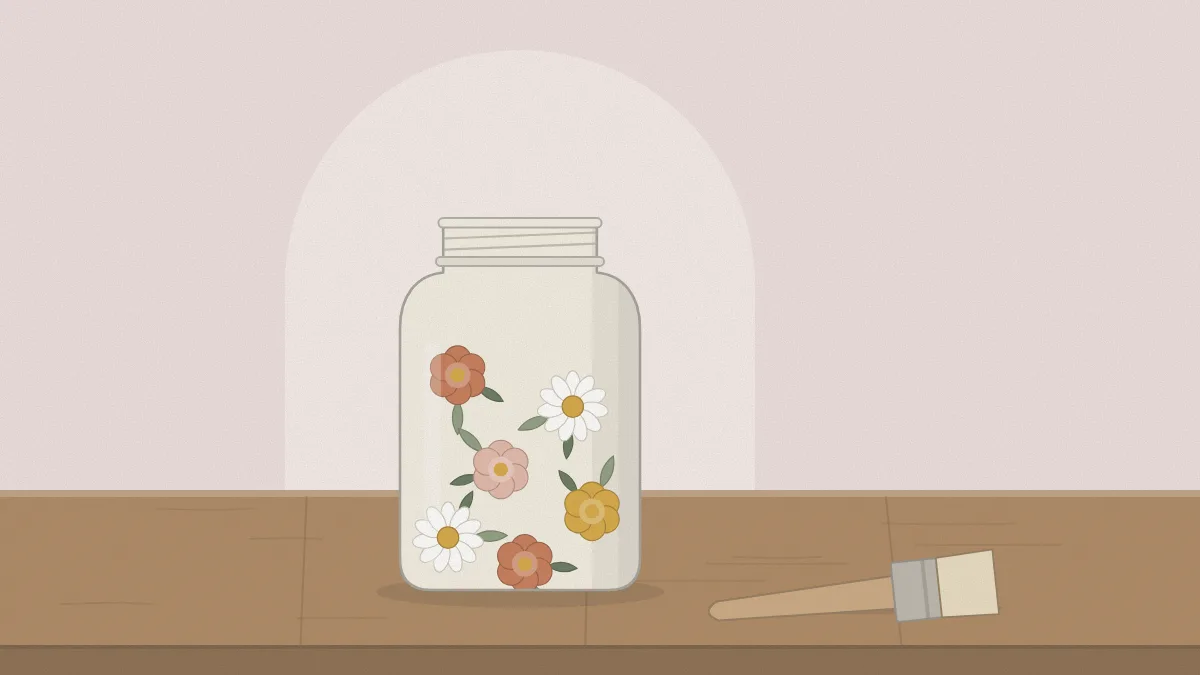
When you decoupage mason jars, you glue thin printed paper to the outside of the glass and brush more medium over the top, so the pattern looks as if it were painted on. It is one of the quickest ways to get a detailed floral, leaf or script design onto a jar without drawing a line.
Glass is a curved, slick surface and the papers involved are fragile, so the technique rewards a light hand. The method below covers paper choice, the pale base coat that lets the print show, and how to keep wrinkles to a minimum.
How decoupage works on glass
Decoupage is the craft of decorating an object with cut or torn paper and sealing it under clear coats. On a jar, a decoupage medium does both jobs: it acts as the glue underneath and as the protective layer on top.
Everything goes on the outside of the jar only, and the finished piece is decorative. Use it to hold faux stems, pencils, brushes or a string of battery LED lights, and keep it dry.
Choosing paper: napkins, tissue and thin prints
The thinner the paper, the more easily it follows a curve and the more its edges disappear. Thick paper resists the bend and lifts at the edges.
| Paper | Strengths | What to watch |
|---|---|---|
| Printed paper napkin | Huge range of designs; nearly invisible edges | Tears when wet; use the printed ply only |
| Patterned tissue paper | Thin, a little stronger than napkin | Some dyes bleed; test a scrap with medium first |
| Thin decoupage or rice paper | Strongest of the three when wet | Edges show more; tear them to soften |
Small motifs suit jars better than one large sheet. A piece that wraps the whole jar has to cope with the shoulder and the base curve at once, which is where wrinkles gather.
Materials
- A clean, dry pint jar with smooth sides
- Light acrylic craft paint or chalk-style paint for the base coat
- Printed napkins, tissue or thin decoupage paper
- Decoupage medium, matte or gloss
- A soft, flat brush and a small foam brush
- A piece of plastic wrap
- Scissors
Prepare the jar and add a pale base coat
Check the jar for chips and cracks and recycle a damaged one. The glass must be free of label glue and skin oils, so follow the steps for cleaning jars and removing labels and let the jar dry completely.
Napkin and tissue are translucent. On clear glass the print looks faint and the color changes with whatever sits behind it. A base coat of white, cream or another very light paint gives the design a bright background, much as white paper does for a printed picture. Brush on thin coats, letting each air dry as the paint label directs, until the glass is evenly covered.
Separate the plies and shape the edges
Most printed napkins have two or three layers. Only the top printed ply is used; the plain white layers behind it stop the medium from soaking through and cause the paper to lift later. Rub a corner between your fingertips until the layers part, then peel them away slowly.

How you shape the piece changes how it blends:
- Tearing leaves a soft, feathered edge that melts into the base coat. It is the better choice for motifs on a plain background. For a controlled tear, trace the line with a damp fine brush and pull the paper apart along it.
- Cutting gives a crisp outline. Use it for bold shapes that should read clearly, or when the paper background is a different color from your base coat.
Hold each piece against the jar before gluing to check its size and position.
Apply the paper
- Brush a thin, even layer of decoupage medium onto the jar where the first piece will sit. Cover an area slightly larger than the paper.
- Lay the paper on from the middle, letting the center touch first and the sides fall into place.
- Smooth from the center outward. Either stroke very lightly with a soft, barely loaded brush, or lay plastic wrap over the paper and press through it with your fingertips. The wrap lets you smooth without dragging and tearing the wet paper.
- Peel the wrap back carefully and leave the piece alone. Wet napkin is at its weakest now.
- Add the remaining pieces the same way, working around the jar and resting it on its rim or on your hand inside it.
- Let the jar air dry until it no longer feels cool or tacky, as the medium’s label directs.

Wrinkles and how to limit them
A few fine wrinkles are normal with napkin on a curved surface, and they soften a great deal once the top coats go on. These habits keep them small:
- Use smaller pieces, and keep them on the straight sides of the jar instead of the shoulder.
- Put the medium on the jar, not on the paper. Wet napkin stretches and puckers.
- Apply a thin layer. Too much medium lets the paper float and slide.
- Smooth once and stop. Going back over half-dry paper is what causes tears.
Tip
If a piece tears as you place it, nudge the torn edges together with the tip of the brush. On a busy print, a closed tear is very hard to spot once it is dry.
Top coats and drying
When the paper is dry to the touch, brush a thin coat of medium over the whole decorated area, running slightly past the paper edges to lock them down. Let it air dry, then add a second coat, and a third if the edges still feel raised. Thin coats dry clearer than one heavy coat. Drying and full curing times vary by product, so go by the label.
Watch out
Decoupage medium stays sensitive to moisture. Don’t soak the jar or put it in a dishwasher; dust it or wipe it with a barely damp cloth. If you want a tougher surface, see how to seal painted mason jars.
Decoupage pairs well with other simple finishes, such as a twine band at the neck. For more low-effort projects to try next, browse the easy mason jar crafts for beginners.
Frequently asked questions
Do you need to paint a jar before decoupage?
You can apply paper straight to clear glass, but napkin and tissue prints are translucent and look washed out that way. One or two thin coats of white or cream paint on the outside give the design a bright background and make the colors read much more clearly.
Why does my napkin wrinkle when I decoupage glass?
Wet napkin stretches, and a jar curves in two directions at the shoulder and base. Use smaller pieces on the straight sides, brush a thin layer of medium onto the jar instead of the paper, smooth once from the center outward through plastic wrap, and then leave it to dry untouched.
Can a decoupaged jar hold fresh flowers?
It is better not to fill a decoupaged jar with water, because moisture at the rim and base can lift the paper and the finish. Use faux or dried stems, or stand a plain inner container inside the jar to hold the water and keep the outside dry.