Fall Mason Jar Crafts: Warm Colors, Leaves and Texture
Five simple, flame-free autumn jar projects in one muted palette: painted jars, a faux-leaf jar, pinecones and acorns, a wheat-stem wrap and a pumpkin jar, plus tips on grouping and storing them.
The best fall mason jar crafts lean on what the season already offers: muted warm colors, dry natural textures and shapes everyone recognizes. A jar, a little paint and a handful of pinecones or wheat stems go a long way on a mantel, an entry table or a porch shelf.
The five projects below are all decorative, all flame-free and all simple enough for an afternoon. They share one palette, so you can make two or three and group them without the result looking crowded.
Start with a restrained fall palette
Bright orange, red, yellow and brown together can feel loud. A calmer approach is to pick three colors and repeat them: a muted pumpkin, a mustard and a cream. Add one natural material, such as jute twine, and stop there.
To soften a craft paint that looks too bright, mix in a little cream or a touch of brown. Chalk-style paint suits these projects well because its flat finish looks at home next to dried stems.
Before any project, check each jar for chips and cracks and recycle damaged ones. Wash the jars in warm soapy water and let them dry completely so paint and glue can grip.
1. Painted jars in pumpkin, mustard and cream
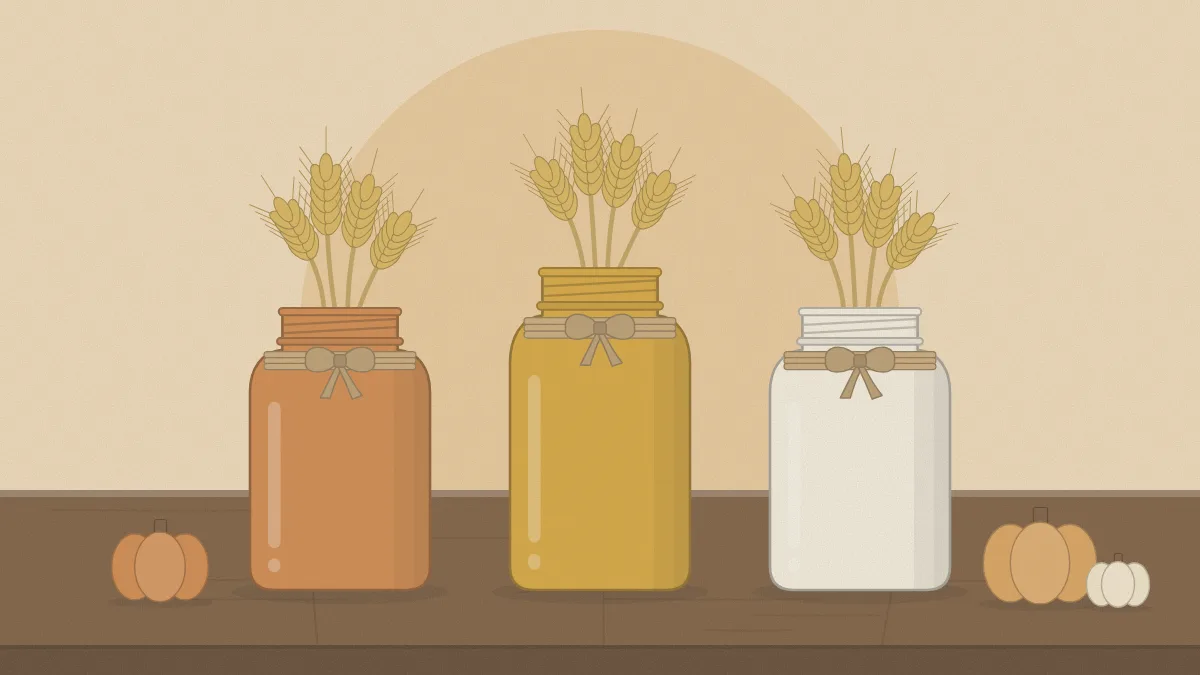
Three jars in three colors make the simplest fall set. Brush two or three thin coats of chalk-style or acrylic craft paint onto the outside of each jar, letting every coat air dry as the paint label directs.
Finish each with a few wraps of jute twine at the neck, tied in a plain knot. Because the paint is on the outside and no water goes in, these are ideal holders for wheat stems, dried grasses or faux branches.
2. Faux-leaf decoupage jar
Fabric or paper faux leaves pressed flat against clear glass give the look of leaves caught in a window. Choose thin, flexible leaves in orange, red and gold, and snip off any plastic stems and thick center ribs so they lie flat.
- Brush decoupage medium onto a small area of the outside of the jar.
- Press a leaf onto it and smooth from the center out to the tips.
- Brush a thin coat of medium over the leaf, sealing its edges.
- Repeat around the jar, overlapping some leaves and leaving a little clear glass between others.
- Let it air dry, then add a second thin coat over everything, as the label directs.

For the glow that makes the leaves stand out in the evening, coil a short string of battery-operated LED lights inside. Don’t use candles in this or any decorated jar. The full method for thin paper, including how to handle wrinkles, is in the guide to decoupage on mason jars.
3. A jar of pinecones and acorns
This one needs no paint or glue at all. Fill a clear quart jar with small pinecones, acorns and a few faux berries, layering sizes so the larger cones sit toward the bottom and the details show near the top.
If you gather your own, brush off loose dirt and leave them spread on newspaper indoors for several days so they dry out and open fully. Lower the first few pieces in by hand instead of dropping them against the glass.
Leave the lid off, or screw on just the band over a square of burlap for texture. For more ways to layer natural and found materials, see the ideas for filled mason jar decor. Acorns and berries are small parts, so keep filled jars away from young children and pets.
4. Twine and wheat-stem wrap
A band of dried wheat around a jar looks like a miniature sheaf. Measure around your jar first; a regular-mouth pint is roughly 3 1/4 in (8 cm) across, but dimensions vary by maker.
- Run a strip of strong double-sided tape around the middle of a clean, dry jar.
- Trim wheat stems so the heads will rise just above the rim, cutting with sharp scissors over paper to catch the bits.
- Press the stems onto the tape side by side, all facing the same way, until the jar is ringed.
- Wrap jute twine over the stems several times to cover the tape line, and knot it firmly. A dot of clear-drying craft glue under the knot helps it hold.
Dried wheat is brittle and sheds a little, so place this jar where it will not be brushed in passing.
5. Pumpkin jar with a twig stem
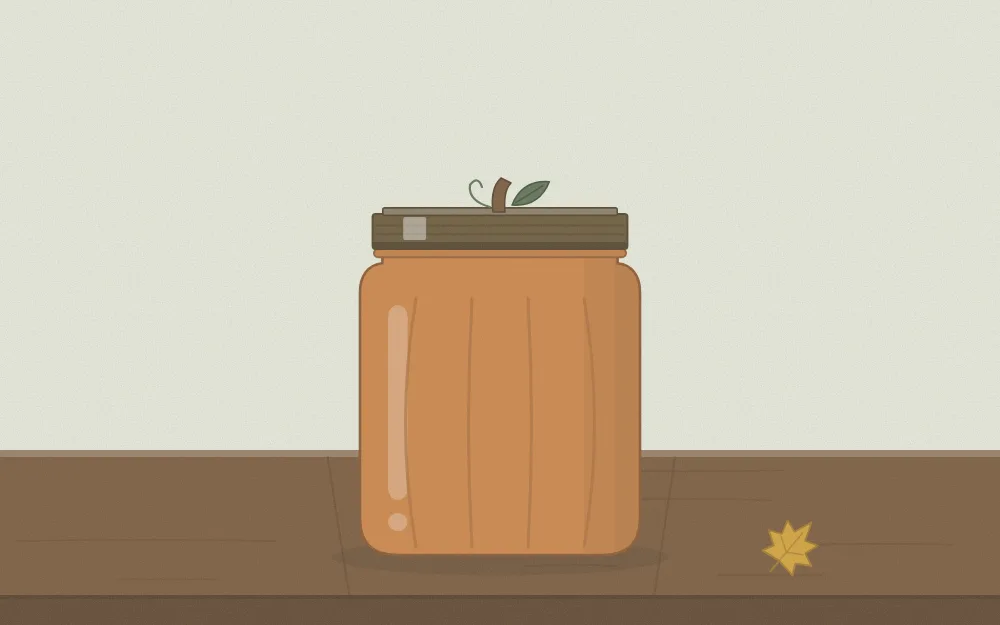
A short, wide jar painted muted orange already has the outline of a pumpkin. The lid does the rest.
- Paint the outside of the jar in two or three thin coats of muted orange and let it air dry as the label directs.
- Paint the band and flat lid insert brown or dark green, or leave the metal as it is.
- Cut a twig about 1 1/2 in (4 cm) long. Fix it upright in the center of the lid with tacky glue, propping it until the glue has set.
- Glue one faux green leaf at the base of the twig, and add a curl of twine as a tendril if you like.
Resist adding a face or extra trim. The shape reads clearly on its own.
Mixing texture when you group jars
A fall display works when surfaces contrast: flat chalky paint beside clear glass, rough twine beside smooth leaves, tall wheat beside a squat pumpkin jar. Aim for three jars at different heights, with one painted, one clear and filled, and one wrapped.
If the jars are going on a dining table, the advice on height and spacing in mason jar centerpiece ideas will help you keep sightlines clear.
Tip
Repeat one element across every jar, such as the same twine at each neck. A single shared detail makes separate projects look like a set.
Storing seasonal jars
Painted and decoupaged jars scuff when they rub together. Wrap each one in tissue or a soft cloth and stand them upright in a box with dividers or crumpled paper between them. Store lids loosely on, or separately, so paint at the rim does not stick to the band.
Empty out pinecones and wheat and keep them in a paper bag, where they stay dry. Choose a cool, dry closet over a damp basement or a very warm attic, since moisture and big temperature swings are hard on paint, glue and glass alike.
Frequently asked questions
What colors work best for fall mason jars?
A short, muted palette looks calmer than every autumn color at once. Try a soft pumpkin orange, a mustard yellow and a cream, with jute twine as the natural accent. Toning a bright craft paint down with a little cream or brown keeps the jars looking rustic instead of loud.
How do I light a fall leaf jar safely?
Use a short string of battery-operated LED lights or an LED tea light inside the jar, and follow the instructions that come with the lights. Don't use a real candle in a decorated jar. The LEDs give a warm glow behind the leaves with no flame involved.
How should I store fall mason jar decorations?
Wrap each painted or decoupaged jar in tissue or soft cloth so the finishes do not rub, and stand them upright in a box with padding between them. Keep natural fillers such as pinecones in a paper bag. A cool, dry closet is kinder to paint and glue than a damp or very warm space.