Burlap and Lace Mason Jars: Rustic Wraps Without the Clutter
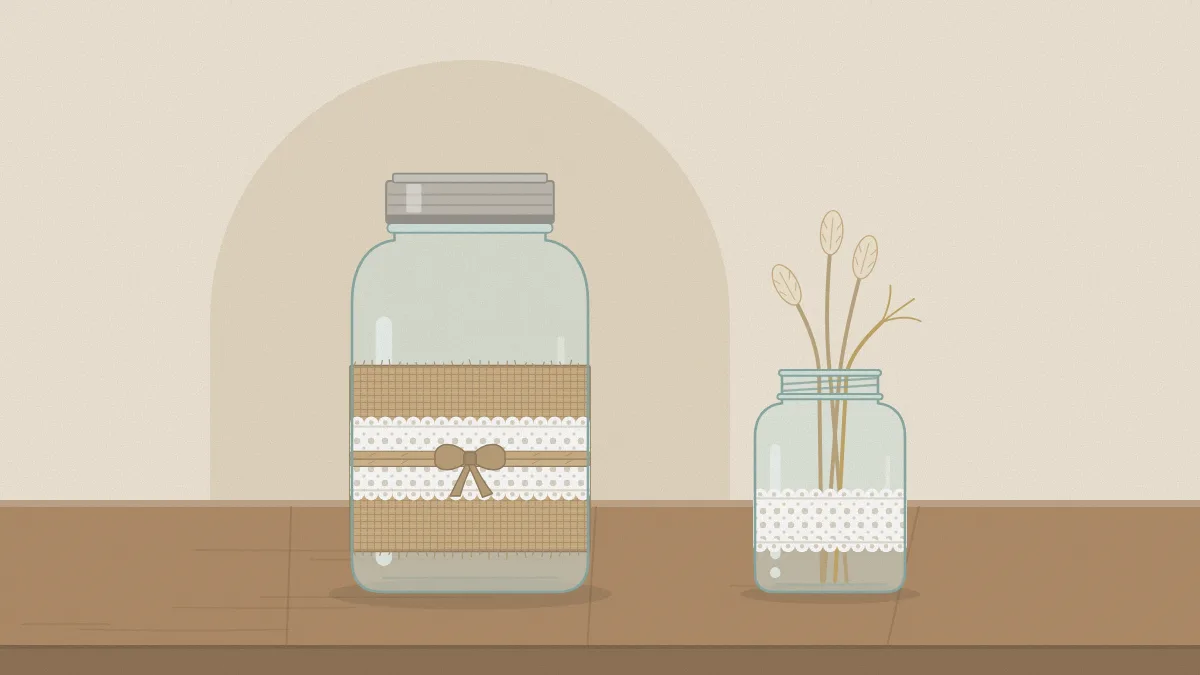
A restrained burlap and lace wrap: one burlap band, one narrower lace strip and a single twine knot. Covers measuring the jar, stopping burlap from fraying and gluing a neat back seam.
Tutorial at a glance
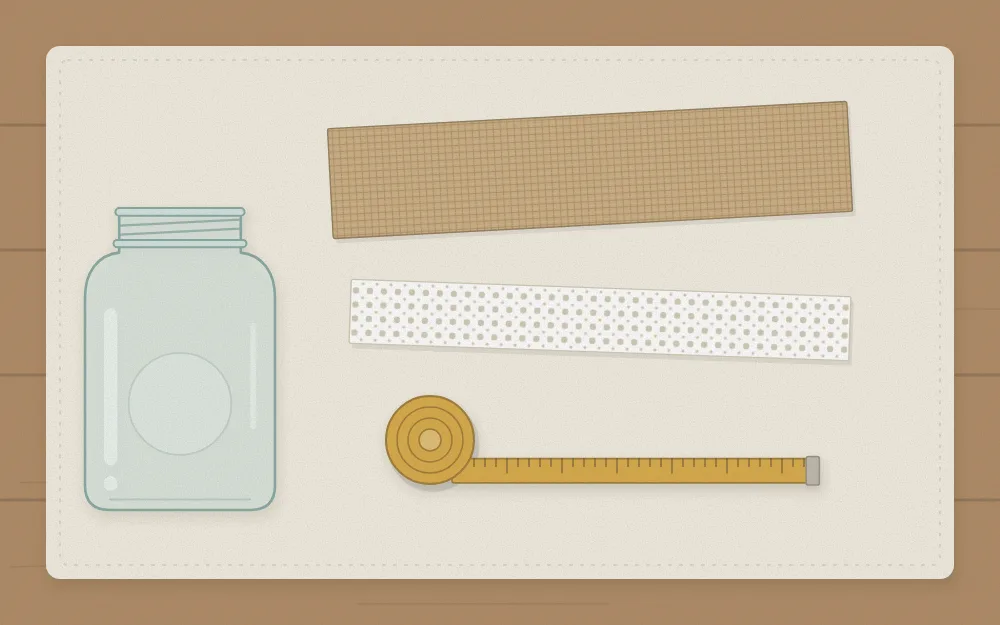
Materials
- Clean clear jar
- Burlap fabric or burlap ribbon
- Flat cotton lace trim
- Thin jute twine
- Clear-drying craft glue or tacky glue
- Soft tape measure and scissors
- Painter's tape
Burlap and lace mason jars have a reputation for fuss: bows, buttons, charms and frills stacked on one small jar. The combination itself is better than that. Rough, open-weave burlap next to fine white lace is a strong contrast, and it needs very little added to look complete.
This version keeps to three parts: one burlap band, one narrower strip of lace over it, and a single knot of twine. The work is mostly measuring and cutting cleanly, and the gluing takes a few minutes at the end.
What you need
- A clean, dry clear jar, pint (16 oz) or quart (32 oz)
- Burlap fabric or burlap ribbon
- Flat cotton lace trim, narrower than the burlap
- Thin jute twine
- Clear-drying craft glue or tacky glue
- A soft tape measure, a ruler and sharp scissors
- Painter’s tape and paper to cover the table
Burlap ribbon with woven edges is the easy option, because the long sides are already finished and only the two cut ends can fray. Burlap cut from a larger piece costs less and lets you choose any width, but it needs the extra step described below.
Measure the jar and plan the bands
Wrap a soft tape measure around the straight part of the jar, below the shoulder, and note the circumference. A regular-mouth pint is about 3 1/4 in (8 cm) across, which works out to a little over 10 in (26 cm) around, but jars vary by maker, so measure your own.
Add about 1/2 in (1.3 cm) to that figure for the overlap at the back. That is the cutting length for both the burlap and the lace.
For width, the band should sit entirely on the straight side of the jar, clear of the curve at the shoulder and the base. These proportions are a good starting point:
| Jar | Burlap band width | Lace width |
|---|---|---|
| Pint (16 oz) | About 2 in (5 cm) | About 3/4 to 1 in (2 to 2.5 cm) |
| Quart (32 oz) | About 3 in (7.5 cm) | About 1 to 1 1/2 in (2.5 to 4 cm) |
Stop the burlap from fraying
Burlap is loosely woven, and a strip cut freehand sheds threads from the first touch. Three habits keep the edges clean.
- Cut along a pulled thread. At the width you want, tease out one long thread and pull it free. It leaves a visible channel in the weave. Cut along that channel and the edge will be perfectly straight.
- Seal the cut edges. Lay the strip on paper and run a very thin line of clear-drying craft glue along each long edge on the back. Smooth it with a fingertip and let it air dry as the label directs. The glue locks the outer threads in place.
- Or make the fray deliberate. Pull two or three threads from each long edge to create a short, even fringe, then seal the thread just inside it. A neat fringe looks intended. A ragged one does not.
Wrap and glue the jar
Check the jar for chips or cracks first and recycle a damaged one. The glass should be clean and completely dry.
- Choose the back. If the jar has raised lettering or a seam line in the glass, put the overlap there. The smoothest face becomes the front.
- Dry fit the burlap. Wrap the band around the jar without glue and check that it sits level and the ends overlap by about 1/2 in (1.3 cm). Trim if needed.
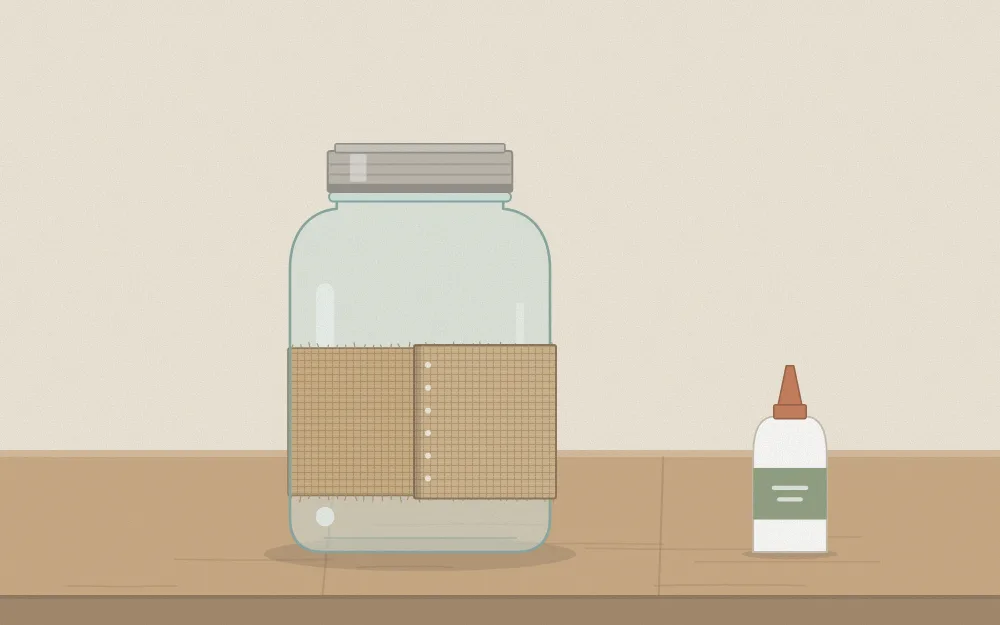
- Glue the first end. Run a vertical line of glue on the glass at the back, the height of the band. Press one end of the burlap into it and hold it with a strip of painter’s tape.
- Wrap and close the seam. Pull the band snugly around the jar. Put a line of glue on top of the first end and press the second end over it. Tape it down.
- Add the lace. Center the lace on the burlap, or set it slightly below center. Glue it only at the back seam, in the same way, so the front stays free of glue marks.
- Let it dry. Leave the jar on its side with the seam facing up until the glue has dried, then peel off the tape.
Tip
Glue seeps straight through open-weave burlap and lace. Use a thin line, keep it to the back seam, and choose a glue that dries clear. Follow the manufacturer’s instructions for suitable surfaces and drying time.
Add one focal detail
Wrap thin twine twice around the center of the lace and tie a single knot or a small flat bow at the front. Trim the tails to about 1 in (2.5 cm). That knot is the focal detail, and the jar is finished.
If you would rather have something else as the focus, swap the knot for it instead of adding to it. One small paper tag, one wooden button or one sprig of faux greenery tucked behind the twine each works alone. Two of them together starts the clutter this version sets out to avoid.
The same thinking applies to the neck. Leave it bare, or give it a few plain rows of twine using the method for a twine-wrapped mason jar, but only if the middle of the jar has no knot.
Using the jars on tables and with flowers
Because the glass stays clear above and below the band, these jars suit fresh stems. Fill them carefully and keep the water level below the bottom edge of the burlap if you can, or pour slowly so that nothing runs down the outside. The guide to mason jar flower arrangements covers stem lengths and how many stems each size holds.
On a table, repeat the same wrap across every jar and vary only the jar heights. A matched set reads as calm, while a mix of trims on each jar looks busy. For layouts, see these mason jar centerpiece ideas.
Watch out
A wrapped jar is wiped, not washed. Dust the band with a dry cloth or soft brush, and never soak the jar, because water loosens the glue and marks the burlap.
Frequently asked questions
How do I keep burlap from fraying on a jar wrap?
Pull out a single thread at the width you want and cut along the gap it leaves, which gives a straight edge. Then run a very thin line of clear-drying craft glue along the back of each cut edge and let it air dry. Burlap ribbon with woven edges avoids the problem entirely.
How wide should the burlap and lace be?
On a pint jar, a burlap band about 2 inches wide with lace of roughly 3/4 to 1 inch looks balanced. On a quart, try about 3 inches of burlap with lace up to 1 1/2 inches. Keep the band on the straight side of the jar, clear of the shoulder curve.
What glue works for burlap and lace on glass?
Tacky glue or clear-drying craft glue, used sparingly and only at the back seam, so nothing shows through the open weave at the front. Check that the label lists glass and fabric as suitable surfaces. Strong double-sided tape under the overlap is a tidy alternative to wet glue.