Twine-Wrapped Mason Jar: A Simple No-Paint Project
Wrap a pint jar in jute twine with clear-drying craft glue: where to start, how to keep the rows tight, how to hide the end, and when a narrow band beats a full wrap.
Tutorial at a glance
Materials
- Clean pint jar
- Jute twine
- Clear-drying craft glue or tacky glue
- Sharp scissors
- Toothpick or small brush
- Painter's tape
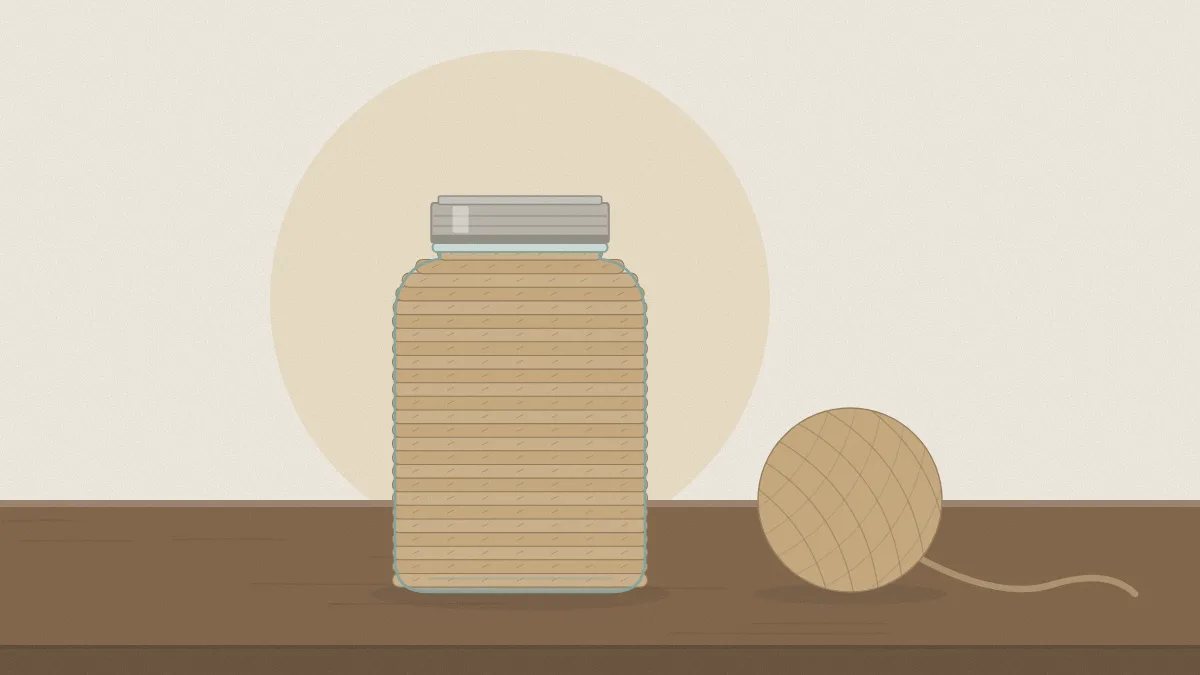
A twine wrapped mason jar is about as simple as a craft project gets: one jar, one ball of jute twine and a little clear-drying glue. There is no paint, no drying between coats and nothing to measure precisely. The only real skill is keeping the rows snug against each other, and that comes within the first few turns.
The steps below wrap a pint jar from the base to just under the threads. The same method works for a narrow band around the middle, which uses less twine and leaves more glass showing.
What you need
- A clean, dry pint jar (16 oz), regular or wide mouth
- Jute twine, about 2 mm thick
- Clear-drying craft glue or tacky glue
- Sharp scissors
- A toothpick or small brush for spreading glue
- Paper to protect the table
A full wrap on a pint jar takes a surprising length of twine, often about 30 to 40 ft (9 to 12 m) depending on the thickness, so work straight from the ball rather than cutting a length in advance. Jute is a plant fiber with a slightly hairy surface. That texture is part of the look, and it also helps the rows grip each other.
Choosing the glue
Pick a glue by type, and read the label to confirm that it lists glass as a suitable surface.
- Tacky glue is thick and grabs quickly, which makes it the easiest choice for holding the first and last rows.
- Clear-drying craft glue is thinner and gives you more time to adjust, but the twine may need holding for a moment.
- Strong double-sided tape works for a narrow band if you would rather avoid wet glue altogether.
Do not use a glue gun for this project. Glass and sudden heat are a poor match, and the thick ridges show through the twine. Whichever glue you choose, follow the manufacturer’s instructions and let it air dry for as long as the label directs.
Prepare the jar
Check the jar for chips and cracks, and recycle a damaged one rather than wrapping it. Wash it in warm soapy water, rinse it and let it dry fully. Any old label adhesive will keep the glue from gripping, so clear it first using the steps for removing labels and sticky residue.
How to wrap the jar, step by step
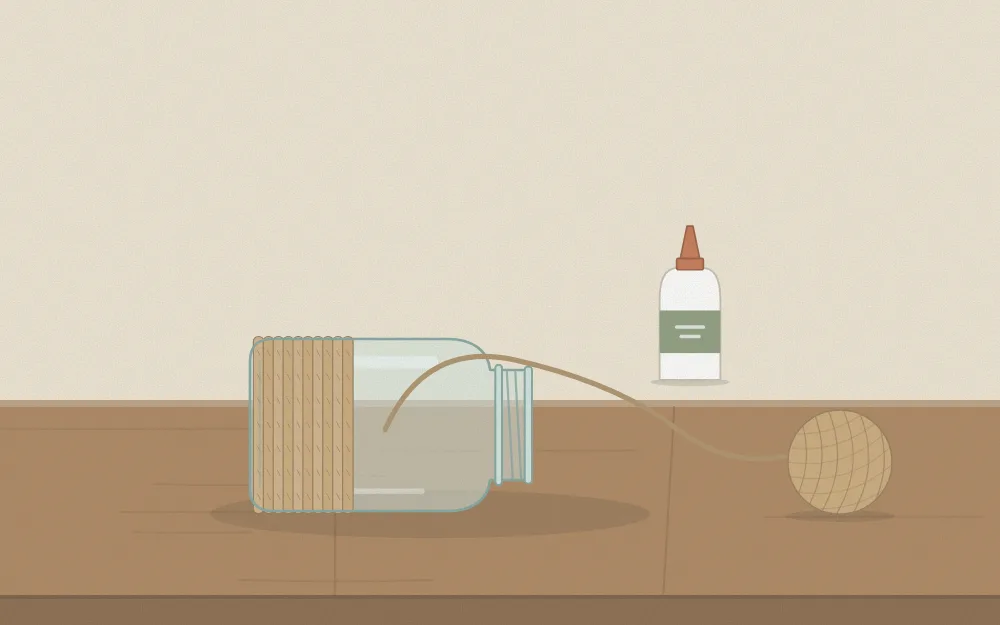
- Find the starting line. For a full wrap, start at the top, in the smooth groove just under the screw threads. The ridge above it gives the first row something to sit against.
- Glue the first row. Run a thin line of glue all the way around that groove. Press the end of the twine into it and hold it for about half a minute, until it stays put.
- Wind the first three rows. Turn the jar rather than moving the twine. Lay each row directly under the last and push it up with a fingernail so that no glass shows between them.
- Work in bands of glue. Spread a thin strip of glue about 1 in (2.5 cm) wide below the wrapped section, then wind into it. Small sections keep the glue from skinning over before the twine reaches it.
- Keep steady tension. Pull the twine firm but not tight. Too loose and the rows sag. Too tight and they slide over each other on the curve of the shoulder.
- Check from the side. Every inch or so, stop and look at the jar straight on. If the rows have started to slope, push them level while the glue is still wet.
- Finish at the base. Stop where the side of the jar begins to curve under. Add a slightly thicker line of glue for the last row.
- Hide the end. Cut the twine at a slant, dab glue on the cut tip and tuck it tight against the last row. Hold it until it grips.
Stand the jar upright on paper and leave it alone until the glue has dried clear. Line up the start and the end of the twine on the same side of the jar, so that one side becomes the back and the front is unbroken.
Tip
Use less glue than you think you need. A thin film holds twine well. A thick bead squeezes up between the rows and dries as a shiny line.
Partial band or full wrap
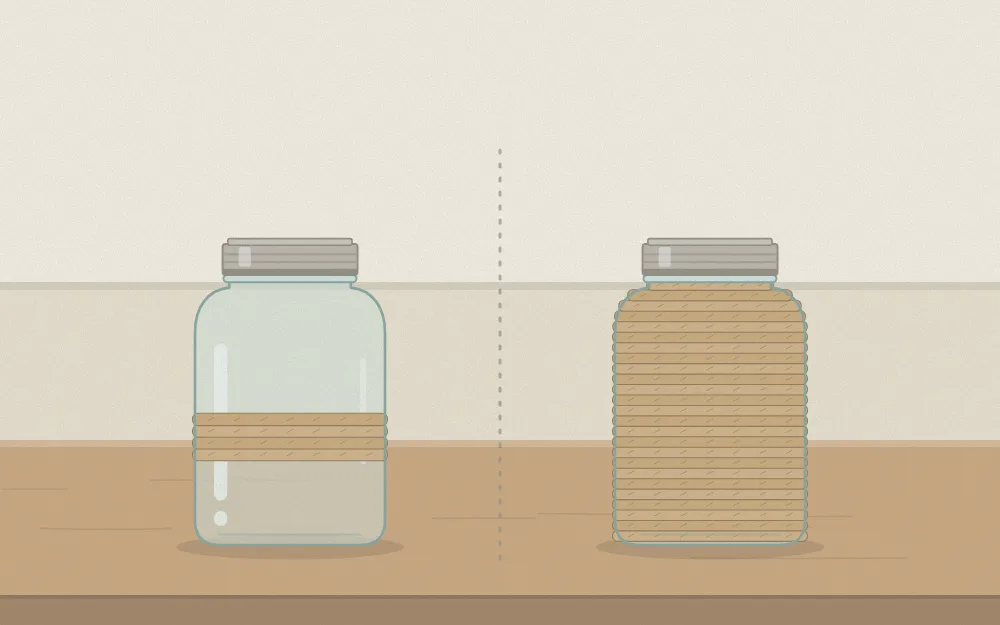
Both versions use the same technique. The difference is how much glass you leave showing, and what you plan to put inside.
| Narrow band | Full wrap | |
|---|---|---|
| Coverage | About 1 to 2 in (2.5 to 5 cm) around the middle | Base to just under the threads |
| Time | About 10 minutes | About 30 minutes |
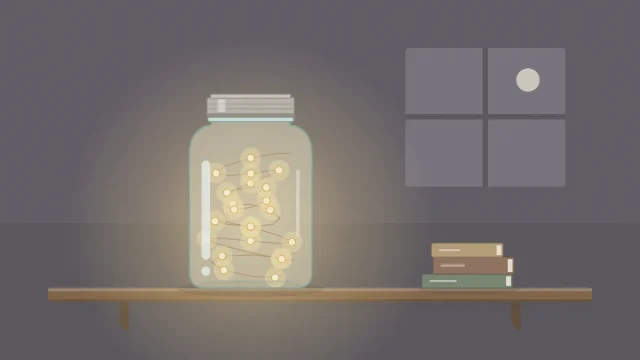
| Best for | Flower jars and LED light jars, where the contents should show | Pencil holders and storage, where the contents are better hidden |
For a band, mark the top edge lightly with a strip of painter’s tape wrapped level around the jar, then wind downward from it. Peel the tape away once the first rows have gripped.
Fixing common problems
- Gaps between rows: slide the rows together with a fingernail while the glue is wet. Once dry, a gap is best covered by a second short length glued over it on the back.
- Rows sloping downhill: you are moving the twine instead of turning the jar. Unwind to the last level row and start again from there.
- Glue showing through: wipe it at once with a barely damp cloth. Dried glue on jute is hard to remove without fuzzing the fiber.
Finishing touches and care
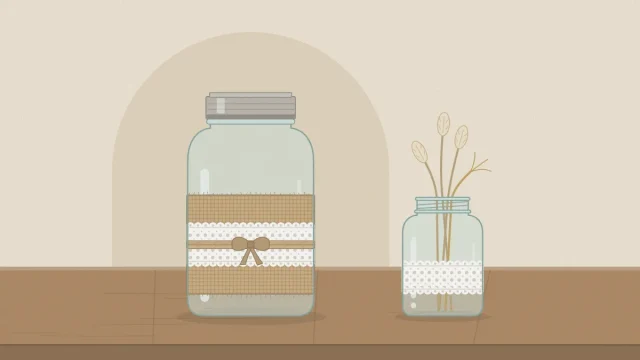
A fully wrapped jar rarely needs more than one extra detail. A single paper tag tied at the neck is enough, and there are simple shapes to cut in the guide to mason jar gift tags. If you want a softer, more layered look, a band of fabric and trim does that better than more twine, as shown in the burlap and lace jar wrap.
Watch out
A wrapped jar is wiped, not washed. Dust the twine with a dry cloth or a soft brush, and never soak the jar or put it in a dishwasher, because water loosens the glue and darkens the jute.
Frequently asked questions
How much twine does it take to wrap a mason jar?
It depends on the jar and the thickness of the twine, but a full wrap on a pint jar with 2 mm jute often uses about 30 to 40 feet. Rather than cutting a length and hoping, wind straight from the ball and cut only when you reach the last row.
What glue holds twine on glass?
Tacky glue and clear-drying craft glue both work, provided the label lists glass as a suitable surface. Tacky glue grabs faster, which helps with the first and last rows. Apply a thin film in small sections and let the jar air dry for as long as the label directs.
Can I wash a twine-wrapped jar?
No. Water loosens the glue and stains the jute, so a wrapped jar should never be soaked. Dust it with a dry cloth or a soft brush instead. If the inside needs cleaning, wipe it with a barely damp cloth and keep the moisture away from the wrap.