Mason Jar Gift Ideas: Non-Food Jars People Will Use
Eight non-food gift jars, from a sewing kit to a thank-you note jar, with advice on choosing a jar size, building tidy layers and finishing the lid.

The best mason jar gift ideas start with something the person already does: mending, writing letters, growing things, working with yarn on the couch. A jar turns a handful of small, useful items into one tidy present, and the glass shows off the contents before the lid is even opened.
Every idea below is a keepsake or supply jar. This list has no food, drink, candle or bath-product jars, which keeps the gifts simple to assemble ahead of time and easy to give to anyone. Pick one of the eight, match it to a jar size, and build it in layers.
Pick the Jar Size First
Choose the jar after you have gathered the contents, and choose the smallest one that holds them comfortably. A half-empty jar looks unfinished, while a snug one looks generous.
| Jar size | Good for | Mouth to choose |
|---|---|---|
| Half-pint (8 oz) | Gift card nest, buttons, a few notions | Regular or wide |
| Pint (16 oz) | Sewing kit, yarn notions, desk kit | Wide is easier to fill |
| Quart (32 oz) | Stationery, kids’ craft kit, gardening jar | Wide for pencils and packets |
A regular-mouth pint is roughly 5 in (13 cm) tall and a regular-mouth quart roughly 7 in (18 cm), but dimensions vary by maker. Measure your own jar against the tallest item before you commit. Check the glass for chips and cracks as well, and recycle any jar that is damaged instead of gifting it.
Eight Jars and Who They Suit
1. Sewing kit jar
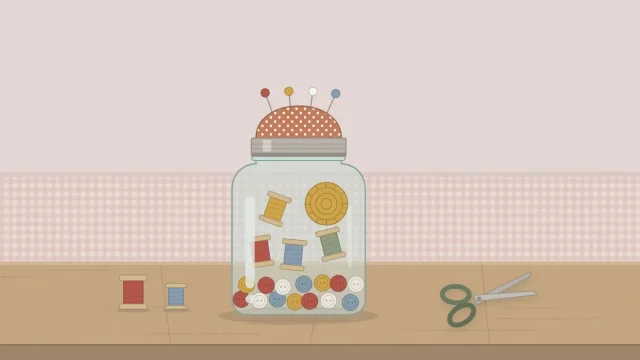
Thread in a few neutral colors, needles in a card, a small tin of buttons, a tape measure and folding or covered scissors. It suits students, new homeowners and anyone who has ever needed a button fixed in a hurry. The full build, including a padded pincushion top, is in the sewing kit in a jar tutorial.
2. Craft kit for kids aged eight and up
Fill a quart jar with pipe cleaners, pom-poms, wooden beads, a skein of embroidery floss and a few sheets of folded colored paper. Add a small card with two or three project prompts. This jar has small parts, so it is for children aged eight and up and should be kept away from younger siblings and pets.
3. Stationery jar
Stand a set of colored pencils or fine-tip pens upright, then tuck in a roll of decorative paper tape, a small pad of notepaper and a strip of stickers. A letter writer, a planner fan or a teacher will use every piece.
4. Gardening jar
Three or four flower or herb seed packets, a small ball of garden twine, wooden plant markers and a pencil. Curve the seed packets against the glass so the illustrations face outward. It suits a new gardener or someone with a first balcony.
5. Yarn notions jar
Stitch markers, a tape measure, blunt yarn needles in a card, point protectors and a mini skein of yarn on top. Yarn crafters lose these small tools constantly, so a pint of spares is always welcome.
6. Desk kit
Paper clips, binder clips, a small roll of tape, an eraser, sticky flags and a short ruler. Once it is emptied, the jar becomes a pen cup.
7. Gift card nest
A gift card feels more like a present when it has to be found. Half fill a half-pint jar with shredded kraft paper, stand the card upright in the middle and add one small extra, such as a keyring or a folded note.

8. Thank-you note jar
Write twenty or thirty short notes on strips of colored paper: a memory, a thank-you, a reason the person matters. Roll each strip around a pencil, slip it off and drop it in. It suits a teacher, a grandparent or a colleague who is moving on.
How to Build Layers
A jar is viewed from the side, so think of it as a stack of bands instead of a container to pour things into. Work with clean, dry glass; wash the jar in warm soapy water and let it dry fully before anything goes in.
- Base. Add about 1 in (2.5 cm) of crumpled tissue or shredded paper. It cushions the contents and lifts small items into view.
- Heavy and tall items. Place the heaviest piece in the center and stand tall items, such as pencils or a tape measure, against the back.
- Small items. Fill the gaps with the smaller pieces, turning the jar as you go so every side has something to look at.
- Top layer. Finish with the prettiest or most personal item: a mini skein, a seed packet or a rolled note tied with thread.

Tip
Lay the contents out on the table in the order they will go in before you start. If the pile looks taller than the jar, move up one size now instead of forcing the lid on later.
Keep the Contents From Rattling
Loose items shift in transit. Push extra shredded paper into the gaps, and put pins, needles and beads into a small envelope or tin first.
Watch out
Jars with scissors, pins, beads or other small parts are not for young children. Mention it on the tag if the gift is going to a household with toddlers or pets.
Finish the Lid and the Outside
One or two details are enough. A circle of cotton fabric under the screw band gives the top color and takes a few minutes; the steps are in the guide to fabric-covered jar lids. Leave the glass itself clear so the contents stay the main feature.
For the outside, choose between a gathered fabric wrap, a kraft paper band or a simple ribbon at the neck. The guide on how to wrap a mason jar gift gives cutting sizes for pints and quarts and explains how to pad the glass for travel.
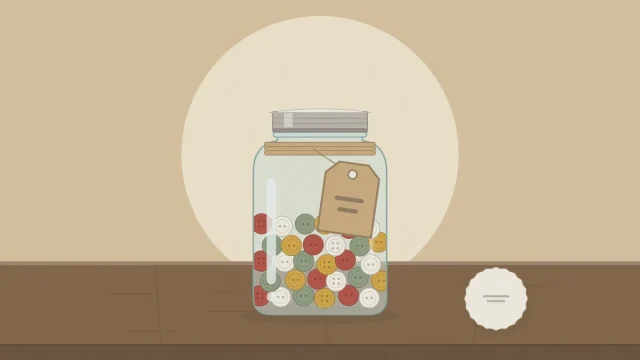
Last, say what is inside and who it is from. A small kraft tag tied at the neck does both, and the article on gift tags and toppers covers shapes, sizes and short wording.
Make Several at Once
These jars suit batch work. Buy supplies in multi-packs, set out one jar per person and fill them assembly-line style: all the bases, then all the tall items, and so on. Vary only the top layer and the tag so each jar still feels chosen for its owner.
Frequently asked questions
What size mason jar is best for a gift?
A pint suits most small kits, such as sewing or yarn notions and desk supplies. Use a half-pint for a gift card and a quart for pencils, seed packets or a children's craft kit. Gather the contents first, then choose the smallest jar that holds them without crushing anything.
How do you keep small items from sinking to the bottom of the jar?
Start with a layer of crumpled tissue or shredded kraft paper, then place the largest piece in the center and tuck smaller pieces around it. Put very small things such as beads, pins or paper clips in a tiny envelope or tin so they stay visible against the glass.
Can gift jars be made ahead of time?
Yes. Jars filled with craft, stationery, sewing or gardening supplies hold nothing perishable, so they can be assembled weeks before they are needed. Store them upright in a box with paper between the jars, and add the ribbon and tag closer to the day so they stay crisp.