Mason Jar Craft Storage: Buttons, Beads, Ribbon and Brushes
Which craft supply stores best in which mason jar, with a size table for beads, buttons, ribbon, thread, brushes and needles. Also covers color sorting, lids, shelf versus drawer and labeling.

Craft supplies are small, numerous and easy to lose, which is exactly why mason jar craft storage works so well. Clear glass shows you what you have, lids keep tiny parts together, and the standard sizes line up neatly on a shelf.
The key is matching each supply to the right jar. A jar that is too large hides a small supply at the bottom, and one that is too small leaves you digging. This guide pairs common supplies with jar sizes, then covers sorting, lids, placement and labels.
Which supply goes in which jar
Use this table as a starting point, then adjust it to the amount of each supply you own. Jar dimensions vary by maker, so measure your own jars before you plan a shelf.
| Supply | Jar size | Mouth | Lid |
|---|---|---|---|
| Seed beads, sequins, snaps | 4 oz (quarter-pint) | Regular | On |
| Buttons, larger beads, pom-poms | 8 oz (half-pint) | Either | On |
| Thread spools, embroidery floss | 16 oz (pint) | Wide | On |
| Ribbon rolls, trim, lace | 16 oz (pint) | Wide | On or off |
| Paintbrushes, pencils, markers | 16 oz (pint) | Regular | Off |
| Long yarn needles, long brushes, dowels | 32 oz (quart) | Regular | Off |
| Yarn scraps, fabric strips | 64 oz (half-gallon) | Wide | On or off |
Small jars for beads and buttons
Quarter-pint and half-pint jars are the workhorses of a craft shelf. They hold enough of one small supply to be useful and little enough that you can see all of it at once.
Fill small jars no more than about three quarters full. The space at the top lets you shake the jar to bring a particular bead or button into view, and it stops the contents from spilling when you unscrew the lid.
For very fine supplies such as seed beads, pour through a paper funnel over a tray. A tray with a lip catches the strays, which is far easier than chasing them across a table.
Wide-mouth pints for ribbon and thread
A wide-mouth jar has an opening of about 3 in (76 mm), which is large enough for most hands and for most small ribbon rolls. A regular-mouth opening, at about 2 3/8 in (60 mm), is too narrow for many spools.
Stand ribbon rolls on edge, side by side, so you can see every color through the glass. If a roll is too wide for the opening, wind a few yards onto a flat card or a wooden clothespin and store that instead.
Thread spools stack in two or three layers in a pint. Tuck each loose thread end into the notch on its spool before it goes in, or the ends will tangle together within a week.
Tall jars for brushes and needles
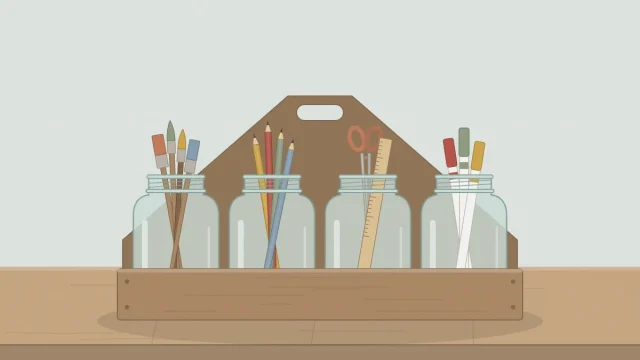
Long tools need height for support. As a rule, the jar should come at least halfway up the tool. A pint, at roughly 5 in (13 cm) tall, suits standard brushes and pencils. A quart, at roughly 7 in (18 cm), suits long yarn needles and long-handled brushes.
Store paintbrushes with the bristles up, and only when they are completely dry. A brush left standing on its bristles bends out of shape, and a wet brush stored upright lets water run down into the ferrule.

Tall, top-heavy jars tip more easily than short ones. A layer of clean, dry pebbles or glass marbles about 1 in (2.5 cm) deep in the bottom adds weight and keeps tools from sliding to one side. For the pens, scissors and clips that live on your work surface rather than on a shelf, the mason jar desk organizer shows how to build a matching three-jar set.
Sort by color
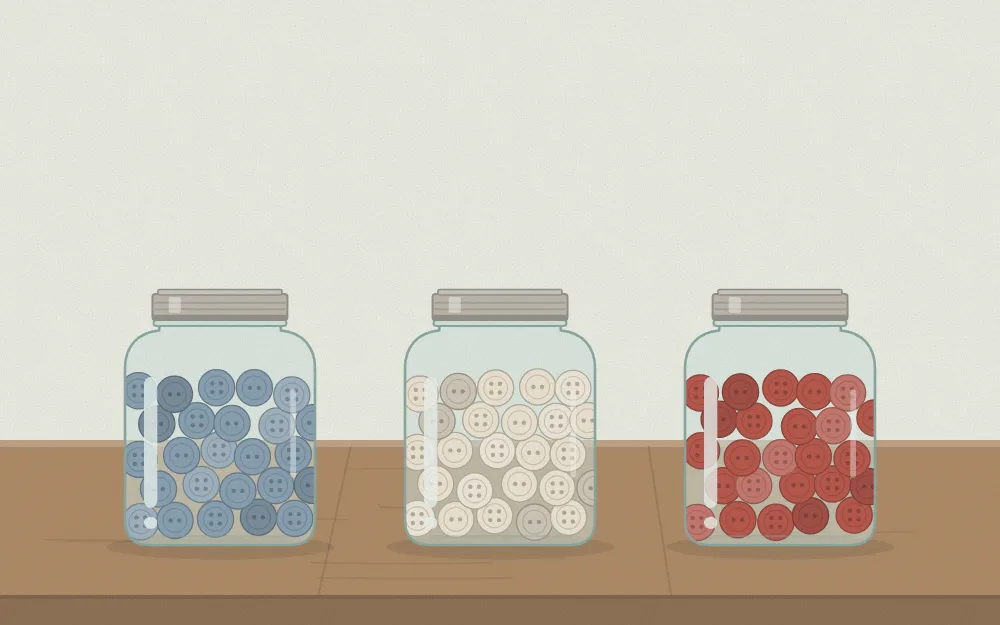
Sorting by color is practical as well as attractive. When you need a blue button, you reach for one jar instead of tipping out a mixed tin.
Start with broad groups and split them only when a jar overflows. Blues and greens, reds and pinks, neutrals, and metallics are enough for most button collections. Line the jars up in a consistent order, such as light to dark, so the row reads as one display.
Keep lids on for small parts
Anything smaller than a fingertip belongs in a jar with its lid on. A closed jar keeps dust out, and if it is knocked over, the contents stay inside.
The two-piece lid lends itself to craft storage. You can label the flat insert, or replace the plain metal look with a padded fabric top that doubles as decoration. The tutorial for fabric-covered mason jar lids shows how, and matching fabric across a row of jars ties a mixed collection together.
Watch out
Beads, buttons, pins and needles are small or sharp. Store them in lidded jars on a shelf away from young children and pets, and check jars for chips and cracks whenever you refill them. Recycle damaged jars.
Shelf or drawer?
Where the jars live changes how you should fill and label them.
- On a shelf: you see the jars from the side, so color sorting pays off. Keep the supplies you use most at eye level, and place heavy jars on lower shelves. Leave a little space between jars so that glass does not knock against glass.
- In a drawer: you see the jars from above, so choose short jars that clear the drawer frame, and label the lids. Line the drawer with a non-slip mat so the jars do not slide and rattle when it opens.
Keep jars of ribbon, floss and fabric out of strong direct sun, which fades dyes over time. A shelf on a wall beside the window is kinder to color than one facing it.
Label what you cannot see
Clear jars often need no label, since a jar of red buttons explains itself. Labels help when the contents look alike, such as needle sizes, thread weights or bead sizes, and when the jar is viewed from above.
Keep the wording short and the style consistent: the same tag shape, in the same position on each jar. The guide to mason jar labels compares tie-on tags, stickers and lid labels, including options you can rewrite as your supplies change.
Tip
Leave one or two jars empty at the end of the row. New supplies then have a home at once, and the system survives your next trip to the craft store.
Frequently asked questions
Is glass a good choice for storing beads and buttons?
Glass is clear, sturdy and easy to wipe, so it suits small supplies well. Its drawbacks are weight and the fact that it can break if dropped. Keep jars on a stable shelf at a comfortable height, avoid stacking them, and choose a different container for supplies you carry to classes or groups.
How many jars do I need to start?
Begin with the supplies that cause the most mess instead of buying a full set. Six to eight jars usually cover a small collection: a few quarter-pints or half-pints for beads and buttons, two wide-mouth pints for ribbon and thread, and one tall jar for brushes. Add more only when a jar overflows.
Should I paint jars that are used for craft storage?
Mostly leave them clear, because seeing the contents is the main advantage. If you want color, keep it to a narrow band, the lid or a tag so the glass stays see-through. Any paint belongs on the outside of the jar only, applied and dried as the product label directs.