Color-Block Mason Jars: Taped Lines and Dipped Looks
Mask a crisp paint line on a jar with painter's tape: a dipped bottom third, a middle band or a diagonal, plus when to peel, how to fix bleed and color pairing.

Tutorial at a glance
Materials
- Clean pint jar
- Painter's tape
- Paint labeled for glass
- Soft flat brush
- Small detail brush
- Rubbing alcohol and cloth
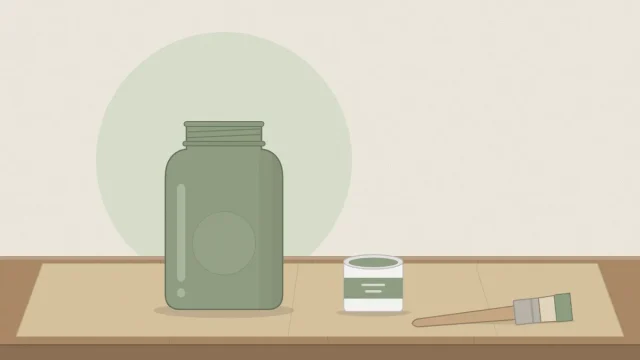
One straight line of paint is enough to change a plain jar. Color block mason jars use painter’s tape to divide the glass into clean sections: a solid lower third that looks dipped, a wide band around the middle, or a diagonal that cuts across the jar.
The painting itself is easy. What separates a crisp edge from a fuzzy one is how the tape goes on, which way the brush moves, and when the tape comes off. Those three points are the focus here.
What you need
- Clean jars, checked for chips and cracks
- Painter’s tape, about 1 in (2.5 cm) wide
- Paint suited to glass, in one or two colors
- A soft flat brush and a small detail brush
- Rubbing alcohol and a lint-free cloth
- A bottle to prop the jar on while it dries
Paints that level smoothly give the sharpest edges. If you are unsure which type to buy, the guide to the best paint for mason jars compares the options. Cleaning, coat thickness and drying follow the same rules as any painted jar, set out in how to paint mason jars.
Three layouts to try
Painted bottom third
This is the dipped look. Tape a level line around the jar about a third of the way up and paint everything below it, including the base. On a pint jar roughly 5 in (13 cm) tall, that puts the line about 1 3/4 in (4.5 cm) from the bottom.
Middle band
Two rings of tape with a gap between them give a painted belt around the jar, with clear glass above and below. A band of about 1 1/2 in (4 cm) suits a pint. Place it on the smooth part of the body if you can.
Diagonal line
Run a single strip of tape at an angle from high on one side to low on the other and paint below it. Tape does not like to curve, so let it follow its own path around the glass and press down any small pleats that form.
Mark and tape the line
- Wipe the outside of the jar with rubbing alcohol and let it dry. Tape and paint both grip clean glass better.
- For a level line, stand the jar on the table, rest a pencil or marker on a stack of books at the right height, and turn the jar against the tip to make a few small marks.
- Lay the tape with its edge on the marks. Cover the side you want to keep clear.
- Overlap the ends and check from several angles that the line meets itself.
- Press the paint-side edge down firmly with a fingernail or the back of a spoon, all the way around.
That last step matters most. Paint bleeds wherever the tape edge is not sealed to the glass, and the raised lettering on a jar is the usual trouble spot. If your line has to cross embossing, press the tape into every dip, or move the line to smooth glass.

Paint away from the tape
Turn the jar upside down over a bottle if you are painting the lower section, so you can reach the base. Load the brush lightly and start each stroke on the tape, pulling the paint off it and onto the glass. Brushing toward the tape forces paint under the edge.
Keep the coats thin, especially along the line. A thick ridge of paint against the tape tears when the tape is removed. Let each coat air dry as the paint label directs before adding the next, and expect two or three coats for solid color.
Tip
For an extra-crisp edge, brush a very thin first coat right along the tape and let it dry before the full coats. It seals the edge so later coats cannot creep under.
Peel while the last coat is still slightly wet
Timing the peel is the detail most people miss. If the final coat dries hard, the paint film bridges from the glass onto the tape, and pulling the tape can lift or chip the edge. Remove the tape a few minutes after the last coat, while the paint is still slightly wet but no longer runny.
- Lift the overlapped end of the tape.
- Pull slowly, back on itself at a low angle, and slightly away from the painted area.
- Keep the loose tape clear of the wet paint as it comes free.
- Set the jar on its prop to air dry fully, as the label directs.
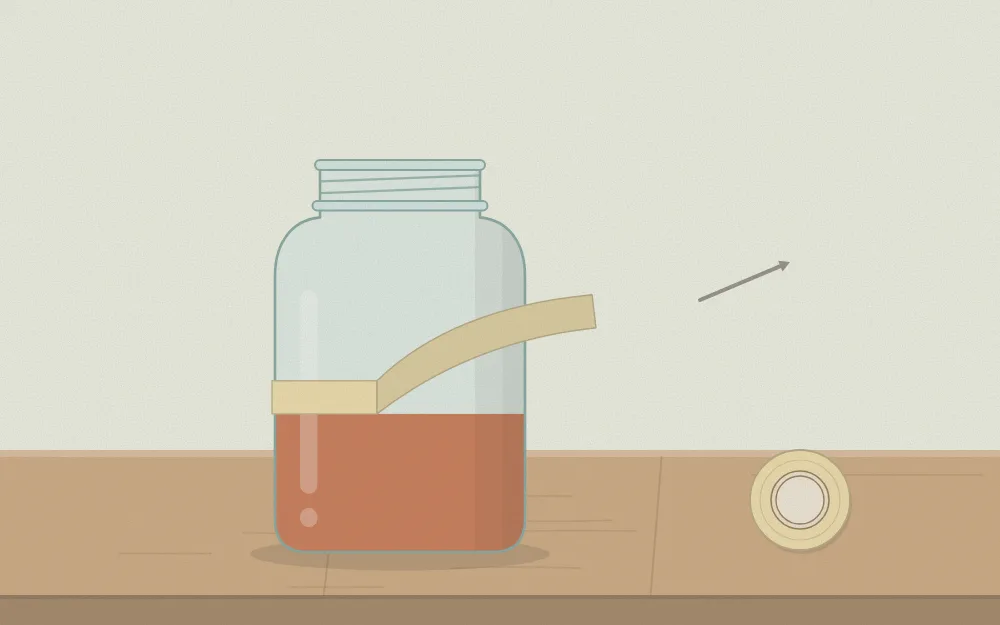
If the paint has already dried before you could peel, score lightly along the tape edge with a craft knife to break the film, then remove the tape. Take care with the blade and keep it away from children.
Touching up bleed
Small bleeds are normal and easy to fix. While the paint is wet, wipe the stray mark off the bare glass with a damp cotton swab, working away from the line. Once it is dry, a wooden toothpick or the edge of a fingernail will usually scrape a small bleed off clean glass.
For a gap or a chipped spot on the painted side, wait until the jar is dry, then fill it with the detail brush and a tiny amount of paint.
Choosing two colors that sit well together
A color-blocked jar already has two tones: the paint and the clear glass. A single color is often enough. When you do add a second, keep the pair simple:
- Neutral plus one color. White, cream or soft gray with sage, navy or terracotta is hard to get wrong.
- Two shades of one color. A pale and a deep blue give contrast without clashing.
- Neighbors on the color wheel. Blue with green, or pink with coral, feels calm.
- Matte color plus a metallic band. Use the metallic sparingly, as a narrow stripe.
To paint two colors on one jar, let the first dry completely as the label directs before taping over it, and use a light touch when pressing the tape down.
Using the finished jars
Painted on the outside only, these jars are decorative pieces for dry items. The clear upper section shows the contents, which makes them handy for pens, brushes and scissors, and a matching set fits neatly into a mason jar desk organizer. Dust them with a dry cloth rather than soaking them.
Frequently asked questions
How do you get a straight paint line on a mason jar?
Mark the height at several points by turning the jar against a pencil resting on a stack of books, then lay painter's tape along the marks. Press the tape edge down firmly all the way around, and brush from the tape onto the glass so paint is not pushed underneath.
When should you remove painter's tape from a painted jar?
Remove it a few minutes after the final coat, while the paint is still slightly wet but not runny. Pull slowly at a low angle. If the paint has dried hard, score gently along the tape edge with a craft knife first so the film does not lift.
Why did paint bleed under the tape?
Bleed happens when the tape edge is not sealed to the glass, often over raised lettering, or when coats are heavy and brushed toward the tape. Use thin coats, press the edge down well, and keep the line on smooth glass where possible. Small bleeds scrape off bare glass once dry.